Know Your Screen’s Nits: Easy Way to Measure Screen Brightness!
If you’ve ever found yourself squinting at your monitor during a late-night gaming session or adjusting your laptop screen brightness for the umpteenth time, you’re not alone. Understanding screen brightness can make a world of difference in your viewing experience, from reducing eye strain to enhancing content visibility. Let’s dive into why screen brightness matters and how you can get it just right.
Why Screen Brightness Matters
First things first, why should you care about screen brightness? Well, it’s more than just making your screen look good. It is the display settings—too bright, and you risk discomfort; too dim, and you’ll be straining to see anything clearly.
The Benefits of Proper Brightness
- Visual Comfort: Proper brightness levels can make long hours in front of the screen more bearable.
- Reduced Eye Strain: Studies have shown that incorrect brightness can cause eye fatigue. If you’ve ever felt like your eyes need a vacation, this might be why.
- High Brightness (100%): Using a display at maximum brightness for extended periods can lead to eye strain. Bright light exposure affects the pupils and may cause discomfort.
- Moderate Brightness (50-70%): This range is generally recommended. It balances visibility with reduced strain. Adjust brightness based on ambient lighting conditions.
- Low Brightness (20-30%): While it reduces strain, excessively low brightness may strain your eyes due to squinting or insufficient contrast.
- Enhanced Content Visibility: Whether you’re editing photos, watching movies, or gaming, the right brightness settings can make colors pop and details sharper.
Use Cases
Different activities call for different brightness levels. For instance:
- Office Work: Generally, a moderate brightness level, balancing visibility and comfort, is ideal.
- Multimedia: Higher brightness levels can make movies and videos more vibrant.
- Gaming: This one’s tricky. You want enough brightness to see all the details but not so much that it washes out colors.
Defining Screen Brightness
Before we get into the nitty-gritty of finding and adjusting brightness, let’s clarify what we’re talking about. Screen brightness is typically measured in nits or candelas per square meter (cd/m²). Both units are used interchangeably and represent the amount of light emitted per square meter of a surface.
Finding Screen Brightness Specifications
When it comes to figuring out your monitor’s brightness capabilities, a little detective work can go a long way.
Checking Device Packaging or Manual
First, take a look at the packaging or the user manual. Manufacturers usually list the maximum brightness rating, often expressed in nits or cd/m². You might also find additional details like the brightness range or dynamic contrast ratio.
Manufacturer’s Website or Marketplaces
If you’ve misplaced the packaging or can’t find the manual, no worries. Head to the manufacturer’s website and search for your specific model. Most manufacturers have a technical specifications section where you’ll find all the details. You can also compare brightness ratings across different online retailer listings to get a broader perspective.
Understanding Brightness Units
Let’s break down those units a bit:
- Nits: This is a measure of luminance, representing the amount of light emitted per square meter of a surface.
- Candelas per square meter (cd/m²): Essentially the same as nits, this unit is often used interchangeably.
Knowing these units is crucial when comparing display specifications. A monitor boasting 400 nits will be noticeably brighter than one with 250 nits.
Factors Affecting Brightness Over Time
It’s worth noting that your display’s brightness can decrease as it ages. This could be due to screen degradation, prolonged use, environmental factors, or simple wear and tear on the backlight. So, if your once-bright monitor seems a bit dimmer, it’s not just your imagination.
Checking Current Brightness Level
Alright, now that we’ve covered how to find your gaming or regular monitor’s specs, let’s move on to checking and adjusting the current brightness.
Using On-Device Menu Controls
Most monitors come with an On-Screen Display (OSD) menu. Here’s how you can use it:
- Locate the OSD menu buttons, usually found on the back or sides of the monitor.
- Navigate the menu to find the brightness adjustment settings, often labeled as “Brightness” or “Luminance.”
- Observe the current brightness level, displayed as a percentage or numeric value.
Locating Brightness Adjustment Buttons/Sliders
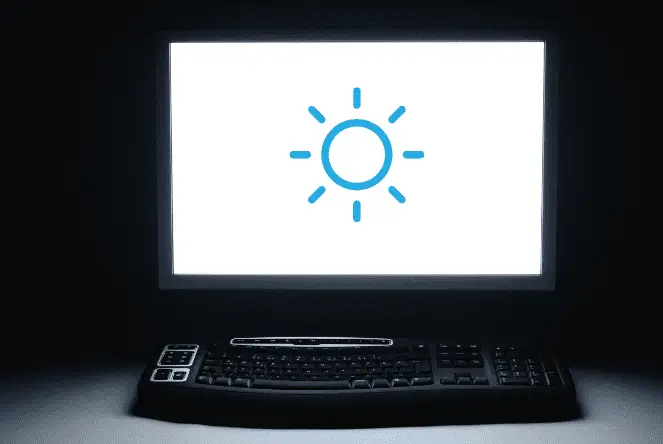
Some monitors have dedicated brightness buttons, usually marked with sun or moon icons. Adjusting these will show an on-screen brightness level indicator, allowing you to fine-tune the setting.
Checking Brightness Percentage in Display Settings
You can also check and adjust the brightness through your operating system’s display settings:
- Access the display settings via the control panel or system menu.
- Locate the brightness slider or percentage indicator, often found in the “Display” or “Screen” settings.
- Adjust the slider and observe the changes.
Determining Laptop Screen Brightness
Laptops are a bit different but equally straightforward.
Finding Brightness Specs in Laptop Documentation
Just like with monitors, start by checking the laptop’s technical specifications. You can find this info on the packaging, in the user manual, or on the manufacturer’s website. Look for the maximum brightness rating in nits or cd/m².
Adjusting Brightness Using Function Keys
Most laptops have dedicated brightness function keys, usually located in the F1-F12 row. Pressing these keys will adjust the brightness, and you’ll see an on-screen indicator showing the level.
Accessing Brightness Controls in Laptop Settings
For finer control, head to the laptop’s system settings:
- Navigate to the display settings, often found in the “System” or “Display” section.
- Locate the brightness slider or percentage control and adjust as needed.
- Explore additional settings like night light or adaptive brightness that may affect overall brightness.
Using Specialized Brightness Control Apps
If you’re a multi-monitor user, apps like Monitorian can be a game-changer. This utility provides centralized brightness controls for multiple connected displays, simplifying the process of adjusting brightness levels across different monitors. It’s convenient to have a single interface to manage settings for a multi-monitor configuration.
Measuring and Calibrating Brightness
Alright, let’s get a bit more technical. Sometimes, subjective adjustments aren’t enough, and you need precise, quantifiable measurements.
Importance of Objective Brightness Testing
Relying solely on your perception can be limiting. For critical applications like photo/video editing, color-sensitive work, or gaming, accurate measurements are essential to ensure consistent and accurate display performance.
Using Windows Color Calibration Tools
Windows comes with built-in tools for color management and screen calibration:
- Access the Windows Color Management and Screen Calibration tools.
- Follow the step-by-step calibration process, which includes setting the appropriate brightness, contrast, and color temperature.
- Ensure optimal results by performing calibration in a well-lit room and allowing the display to warm up.
Conclusion
We’ve covered a lot, but that’s because screen brightness is a big deal! From checking specifications to adjusting settings and using specialized apps, you now have the tools to master your screen’s brightness. Remember, the goal is to find a balance between subjective comfort and objective performance.
Regular brightness checks and calibration can help maintain optimal display performance over time. So, go ahead and experiment with these techniques to find what works best for you. Your eyes—and your monitor—will thank you!
For more information on related topics, you might find our articles on how to measure monitor size helpful.