Computer won’t start after a Windows Update! Solutions
Windows updates are regularly carried out, but in some cases, problems may occur after the update, such as the computer not booting up or not turning on.
If your computer doesn’t start up, you won’t be able to use it. Fortunately, there are cases where you can solve these problems yourself.
In this article, we will explain the specific steps and points to note for those who are having trouble with their computer not starting up after a Windows Update.
Main symptoms that occur after Windows Update
The following symptoms may occur after a Windows Update:
- can not turn on
- unable to get past the Windows logo screen
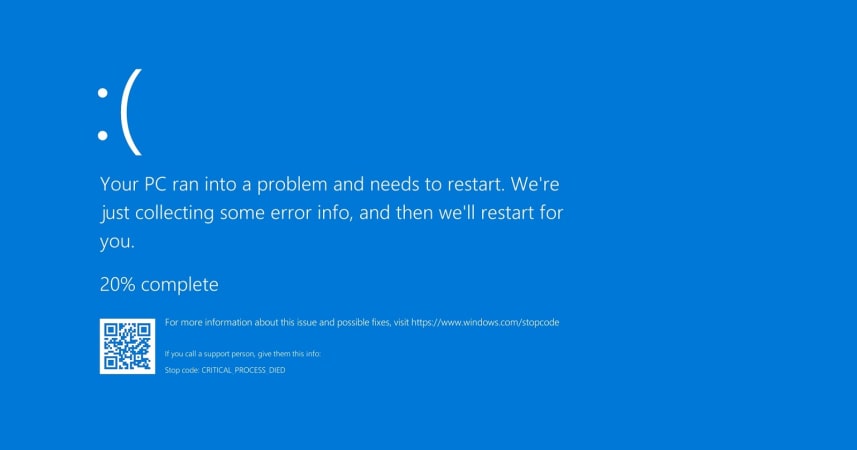
- a blue screen appears
- a black screen appears
If your computer fails to power on, the issue could be that static electricity has built up inside the computer during the update. Static electricity occurs when an object gets electrically charged. If too much electricity accumulates inside the computer, the fan cannot keep up with the cooling, which can lead to overheating. Also, even if the power turns on, it may not be possible to progress beyond the Windows logo or the manufacturer’s logo.
This may be because updates are being processed, but if it still does not start up even after waiting a long time, there may be a problem with the system files or device drivers, the functions that connect your computer to Windows.
When an update is improperly installed, one common symptom is a blue screen displaying white text. A black screen is a similar issue that arises from complications with system files during an update. If this occurs after a Windows Update, try the solutions introduced in the next section.
5 Solutions When Windows Doesn’t Boot After Update
There are five specific ways to deal with the situation if your computer won’t start after a Windows Update.
1. Wait until the update is complete
If the computer doesn’t boot, it may just be that the update is taking a long time. Look for the hard disk access light; if it’s active or flashing light, the update is still underway. Please allow it some time to complete.
If the access light goes out or the computer does not start up even when it is blinking at long intervals, the update process has stopped and you will need to force shut down the computer.
For computers without an access light, monitor the duration of the update process. Update durations can vary by computer model, but if there’s no startup within 24 hours, there is no problem in shutting it down.
First, wait until the update is completely finished, and if it takes too long, try shutting down the computer. However, there are risks involved with forcing a shutdown. More details is later ahead.
2. Turn off the power and then discharge the computer
If the computer does not start after the update, shut it down and then discharge the power from computer.
Electronic devices, such as computers, accumulate an electrical charge during use. This electrical charge can pose a risk of internal malfunctions, so to prevent this from worsening, the computer will shut down, turning off the power or not starting up.
To prevent this from happening, you can discharge your computer to prevent the shutoff phenomenon.
To discharge your computer, follow these steps:
- Turn off your computer
- Remove the battery (for laptops)
- Unplug the power cord
- Wait 1 to 5 minutes
No saved data will be lost when the device is discharged, but settings such as the date and time may be reset. Set them again once the device starts up.
3. Try to repair Windows from Safe Mode
Safe mode is a mode in which your computer runs with the bare minimum of functions. If your computer does not start after an update, you can use safe mode to restore your system.
Here we will show you how to boot Windows 10 in Safe Mode.
- Force shut down your computer (twice or more in succession)
- If you see “Preparing automatic repair” or “Please wait” message, wait
- If Automatic Repair starts, it will say “Diagnosing your PC”
- When the Automatic Repair screen appears, select Advanced options; when Recovery appears, select See advanced repair options.
- Select “Advanced Options” from “Troubleshoot”
- Select “Restart” from “Startup Settings”
- After rebooting, select the option “Enable Safe Mode” or “Enable Safe Mode with Networking” in “Startup Settings”
Next, we will show you how to start Safe Mode from Command Prompt. However, this method can only be used when your computer is working normally.
- Go to “Troubleshoot” and then “Advanced Options”
- In the Command Prompt, type “sfc/scannow” and press “Enter”
These methods may vary slightly depending on your computer.
4. Revert to an older version of Windows
Depending on your computer environment, the update contents may not be compatible and problems may occur. In that case, revert to the older version.
Here’s how to revert it:
- Select “Uninstall updates” from “Advanced options”
- Select “Uninstall feature updates”
- Select the reason for returning
- When asked “Do you want to check for updates?”, select “Don’t check.”
- Check the “Things you need to know” and click “Next”
- Be careful not to get locked out and click “Next”
- Select “Go back to the previous build” and restart will begin.
- If the program can start without any problems after rebooting, then you are done.
If the rollback attempt fails, the backup file before the update may be missing or there may be a problem with the file itself.
If you can use Safe Mode, you can restore it from “Update and Security”, but if Safe Mode is difficult, consider resetting it to factory settings.
5. Boot from the Windows recovery drive
A recovery drive is a USB flash memory that stores initialization data so that you can restore your computer to the same state as when it was shipped from the factory even if a problem occurs.
This method is for those who have a recovery drive. Here’s how to boot from the recovery drive:
- Turn on your computer
- Select “Microsoft IME” in keyboard layout
- Select “Recover from a drive”
- If you want to initialize the drive, select “Fully clean the drive”
- Select “Recovery” and wait until the initialization is complete.
If the recovery drive does not start, start the “BIOS”. BIOS (UEFI/Legacy) is a function that allows your computer to operate smoothly.
The method to access the BIOS differs from one computer to another. To initiate it, press the corresponding key while the manufacturer’s logo is displayed. Below are the primary keys for initiating the BIOS, categorized by manufacturer.
- HP – F10
- ASUS – F2
- Dell – F2 or Ctrl+Alt+Enter
- Acer – F2 or Delete
- Gigabite – F2 or Delete
- Lenovo – F1
Please note that even if the manufacturer is the same, the corresponding keys may differ depending on the type of PC, so if you press the above keys and there is no response, please check the manual.
After initiating the BIOS, choose “USB: name of the USB memory stick for the recovery drive” from the “Boot Configuration” or “Boot Menu” item to boot the recovery drive.
Notes on when Windows does not start after Windows Update
Before trying the solutions introduced in the previous section, there are some points you should be aware of. Make sure you understand them well so you don’t end up regretting it later.
A forced restart may corrupt data.
If it doesn’t start, a force restart option exists, though it carries the potential risk of harming the operating system or data.

If you still decide to force restart, do so at your own risk, so think carefully before proceeding. It is wise to think of a forced restart as a last resort that you can try yourself.
Furthermore, given the regularity of Windows Updates, we recommend that you back up your data on a regular basis just in case.
Bottom Line
If the above suggested solutions don’t rectify the issue of your computer not starting up after a Windows Update, there may be a combination of various causes, such as a malfunction of the OS or problems with peripheral devices.
Restoring the system may resolve the issue of your system not booting after a Windows Update, but if the process fails, it may result in an irreparable damage.
So, if you think it is difficult to fix the problem yourself, you can have a repair center service to protect your computer and data.
[Related]